Guide
Parawing Setup & Rigging Guide: From Bag to Air in Minutes
One of the best things about parawing foiling is the setup. No pump, no bladders, no 20-metre lines to walk out. A parawing goes from bag to air in a few minutes, and most of that time is just unfolding fabric and connecting a handful of lines. But those few minutes matter. A clean setup means a clean launch, and a rushed setup leads to tangles, twisted bridles, and frustrating first attempts at getting airborne.
This guide walks through the universal rigging process, brand-specific tips for the most popular parawings, a pre-flight checklist, and how to pack down efficiently at the end of a session.
Before You Start: Choose Your Spot
Where you rig matters as much as how you rig.
Wind direction. Set up with the wind at your back. The wing should be downwind of you while you lay it out. This means the leading edge faces into the wind when you’re ready to launch.
Surface. Grass, smooth sand, or a clean beach are ideal. Avoid gravel, rough tarmac, or areas with thorns and sharp debris. Parawing canopies use lightweight fabrics (paragliding-grade nylon, ripstop) that can be punctured or abraded by rough surfaces.
Space. You need roughly 3 to 4 metres of clear space to lay out the wing and lines. That’s much less than a kite, but you still need enough room to spread the canopy flat without folding over obstacles.
Other people. Rig away from other riders, beachgoers, and especially dogs. Loose lines on the ground are invisible trip hazards.
Universal Rigging Steps
These steps apply to every parawing, regardless of brand. Brand-specific differences are covered in the next section.
Step 1: Unpack
Remove the wing from its bag. Most parawings come with a drawstring sling bag or compression pouch. Lay the bag to one side with your bar on top of it so nothing blows away.
Step 2: Unfold the Canopy
Spread the canopy flat on the ground with the leading edge (the front, curved edge with battens or stiffening) facing into the wind. The top surface of the wing should face up.
Tip: If the canopy is folded in half, open it fully before doing anything with the lines. A half-opened canopy with lines running through it is a guaranteed tangle.
Step 3: Sort the Lines
Walk from the canopy to the bar, running your fingers along each line to check for twists, knots, or tangles. Every line should run cleanly from its bridle attachment point on the canopy to its connection point on the bar.
Colour-coded lines (Ozone, F-One, Ensis, Duotone, Flow) make this fast. You can visually confirm that each colour group runs cleanly without crossing.
Same-colour lines (Flysurfer POW) take more care. Follow each line individually from the canopy to the bar. The four-bridle system means more lines to sort.
Step 4: Attach the Bar (If Not Pre-Attached)
Some wings have the bar permanently connected to the bridle lines. Others require you to attach the bar before each session using larks head knots, loops, or pin connections.
If attaching:
- Match each bar connection point to its corresponding bridle line
- Secure the connection (larks head, loop, or pin)
- Give each connection a firm tug to verify it’s seated
Step 5: Connect the Harness Line
Attach your harness line to the bar’s centre point (or check that the pre-attached harness line is in good condition). The harness line should hang freely from the bar without catching on any bridle lines.
Step 6: Pre-Flight Check
Before you pick up the bar, run through the pre-flight checklist below.
Step 7: Launch
Pick up the bar with one hand. Walk forward (into the wind) until the lines come taut. The wind should catch the canopy’s leading edge and begin to inflate it. Feed out the lines gradually as the wing rises. Once the wing is stable overhead, hook in and head to the water.
Brand-Specific Rigging Tips
BRM
Bar: 25cm carbon bar, the most compact in the category. Easy to handle one-handed.
Bridle: BRM uses a yoke bridling system with A and C bridles but no middle connection. When sorting lines, you’ll notice fewer bridle attachments than other brands. This simplifies the sorting process but means each connection carries more load. Check each attachment point carefully.
Tip: BRM wings are the lightest parawings available. Even a light breeze can move the canopy while you’re rigging. Weight the trailing edge with your bag or a small stone (placed on the fabric, not on lines) to keep it in place.
Ozone Pocket Rocket / PowerPack
Bar: 40cm carbon-fibre bar. Colour-coded bridle lines: distinct colours for front, mid, and back lines.
Bridle: Well-organised with clear colour coding. Sorting is fast. The Pocket Rocket’s lines are some of the easiest to manage in the category.
Tip: Ozone’s colour-coded system means you can visually confirm correct setup in seconds. If any colour group is crossing another, you have a twist. Ozone also marks the centre of the leading edge, which helps with orientation during setup and water relaunch.
F-One Frigate
Bar: Two sizes: 29cm (wing sizes 1.9m to 4.0m) and 41cm (4.7m to 6.5m). Both carbon with EVA grip.
Bridle: Dynamic Bridle System. No pulleys. Colour-coded: orange (front), yellow (centre), red (rear). Pre-attached mono-harness line is included and already connected to the bar.
Tip: The Frigate’s bridle system is pulley-free, which means no moving parts to jam or fail. During setup, verify that the three colour groups are cleanly separated. The pre-attached harness line saves a step compared to most competitors.
Flysurfer POW
Bar: 42cm carbon J-shaped pistol grip. Pin-access bridle attachment.
Bridle: Four bridle sets with a pulley mechanism on the fourth set. All lines are the same colour (coated, no colour coding).
Tip: The POW’s four-bridle system with same-colour lines requires the most careful setup of any parawing. Take your time sorting lines. Follow each line individually from canopy to bar. The pin-access attachment system is secure but takes a session or two to learn. The 4.0m has 210cm lines (the longest in the category), so you’ll need more space to lay out than with shorter-lined wings.
Ensis Roger
Bar: Egg-shaped aluminium bar with EVA foam padding. Softer pressure than carbon bars.
Bridle: 3-Point Bridle System with fewer lines than most competitors. Colour-coded: blue leading edge, distinct colours for each bridle group.
Tip: Ensis’s 3-Point system has fewer lines to sort, making it one of the fastest parawings to rig. The buoyant canopy material also makes water relaunches easier. The centre of the leading edge is clearly marked for orientation.
Duotone Stash
Bar: 35cm carbon handle.
Bridle: Three-way colour coding (main canopy, leading edge panels, line rows). Upgraded sheathed lines with low-tangle coating.
Tip: Duotone’s sheathed lines resist tangling better than uncoated lines. The hybrid single-skin/double-skin wingtips at the trailing edge are the most distinctive visual feature. Make sure these wingtips are flat and not folded inward before launch.
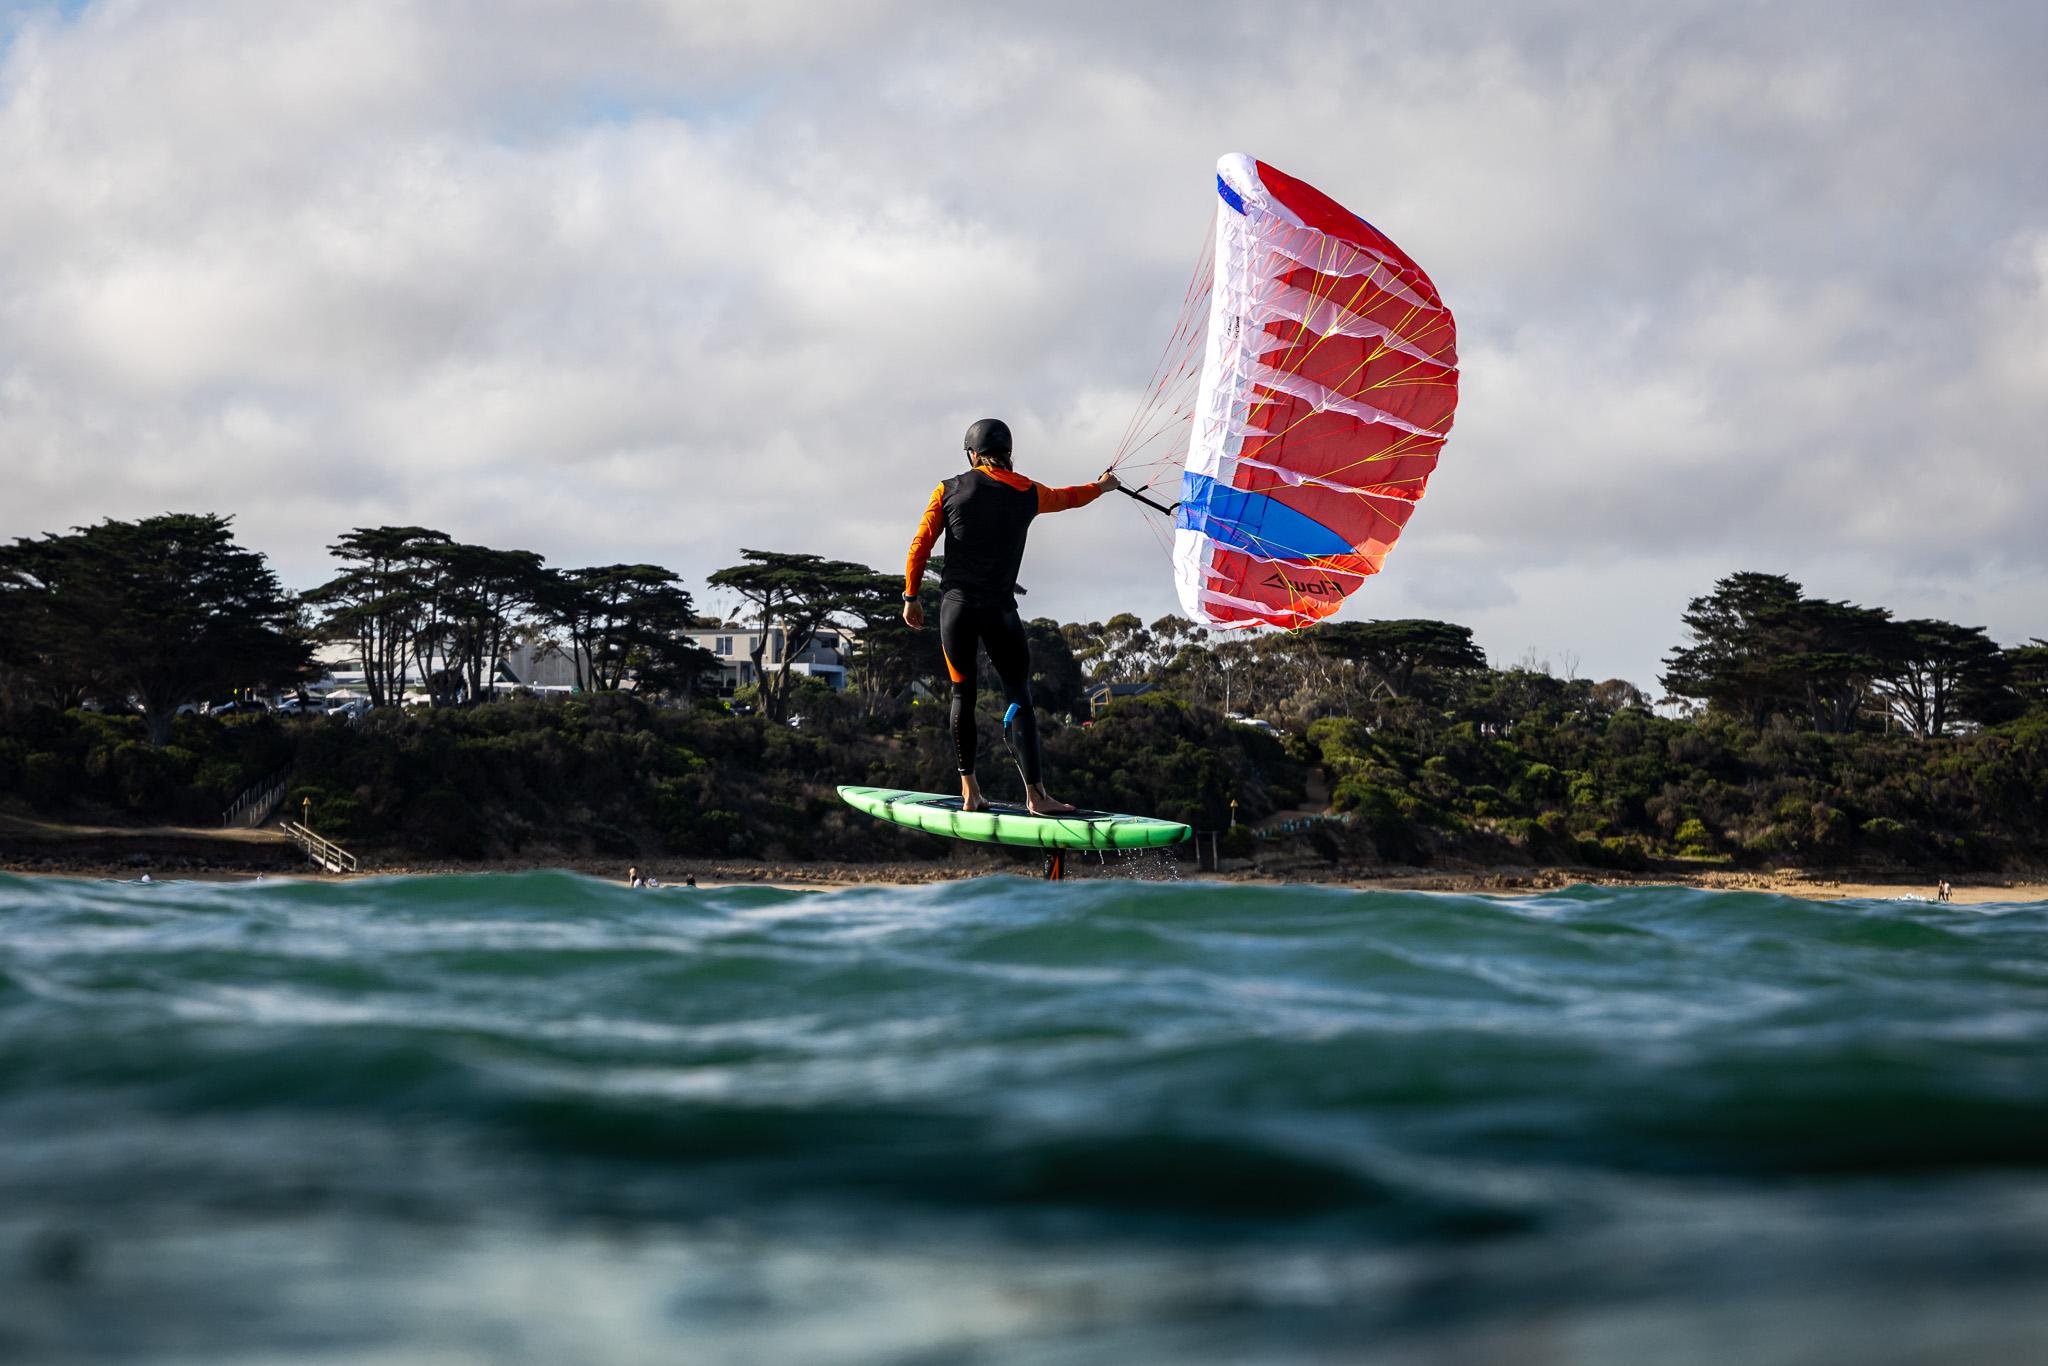
Flow D-Wing
Bar: Full carbon bar with floating B-attachment point.
Bridle: Colour-coded line groups (three distinct colours for front, mid, back). Shorter arm-length lines compared to most competitors.
Tip: The Flow’s shorter lines mean a smaller rigging footprint. The reflex airfoil design makes it very resistant to collapse, which also means it’s forgiving during launch. Even if your setup isn’t perfect, the wing is unlikely to collapse mid-inflation. The floating B-attachment point allows your back hand to move freely, which affects control feel but not rigging.
Aeryn P1
Bar: Compact EVA foam bar.
Bridle: Low bridle count with colour-coded pigtails. Spliced Dyneema construction.
Tip: The P1 has one of the lowest bridle counts in the category, making it fast to rig. The colour-coded pigtails make connection identification quick. The spliced Dyneema lines are smooth and resist knotting. A good choice for riders who value fast, simple setup.
Pre-Flight Checklist
Run through this every time, before you pick up the bar:
- Canopy orientation: Leading edge faces into the wind, top surface up
- Lines clear: Every line runs from canopy to bar without twists, crosses, or tangles
- Connections secure: All bridle-to-bar connections are firm (tug-tested)
- Harness line: Connected to bar, correct length, no wear or fraying
- Battens and stiffeners: Leading edge battens are seated properly, not kinked or displaced
- Canopy condition: No tears, holes, or debris on the fabric
- Bar condition: No cracks, grip intact, any moving parts (pulleys, pins) functioning
- Wind check: Wind is steady and from a consistent direction. No sudden gusts or lulls in the last few minutes.
This takes 30 seconds. It prevents 30 minutes of frustration on the water.
Pack-Down and Stow
Packing a parawing properly protects the canopy, prevents line tangles, and makes your next setup faster.
Step 1: Land the Wing
Bring the wing down by releasing bar pressure and walking downwind toward the canopy. Let the wing settle gently on the ground. Avoid dropping it onto rocks or rough surfaces.
Step 2: Secure the Canopy
If it’s windy, weight the canopy immediately with your board, bag, or sand. A loose canopy in wind will drag, tangle lines, and potentially get damaged.
Step 3: Gather the Lines
Walk from the bar to the canopy, gathering lines as you go. Wrap them loosely around the bar or around your hand in a figure-eight pattern. Don’t wrap them tightly in a coil (this creates twists that make next setup harder).
Step 4: Fold the Canopy
Fold the canopy in half lengthwise (leading edge to trailing edge), then roll it from one wingtip to the other. Rolling pushes air out of the canopy cells and creates a compact bundle.
Don’t: Stuff the canopy into the bag without folding. This creases the fabric, can displace battens, and makes the next setup slower.
Step 5: Bag It
Place the rolled canopy and wrapped bar/lines into the bag. If the bag has separate compartments, keep lines and canopy apart to prevent snagging.
Rinse After Salt Water
If you’ve been riding in the sea, rinse the canopy, lines, and bar with fresh water before storing. Salt crystals dry into the fabric and lines, accelerating UV degradation and stiffening the bridle. A quick shower rinse is enough. Let everything dry before long-term storage.
Frequently Asked Questions
How long does it take to set up a parawing?
From bag to air: 3 to 5 minutes for an experienced rider with a clean pack. Longer if lines are tangled from the last session or if you’re learning a new wing. Colour-coded bridle systems (Ozone, F-One, Ensis) are fastest. Same-colour systems (Flysurfer) take more care.
Can I leave my parawing rigged between sessions?
Not recommended. UV, moisture, and wind stress degrade the canopy and lines even when the wing isn’t being flown. Pack it down after every session. The setup is fast enough that leaving it rigged saves negligible time.
What if my lines are tangled and I can’t sort them on the beach?
Don’t force it. Lay the canopy flat, walk the lines out from canopy to bar, and sort one line at a time. If a knot is tight, work it loose with your fingers rather than pulling (pulling tightens knots in Dyneema and Spectra lines). See our harness and spreader bar guide for more on line management.
Do I need to do anything differently in wet or cold conditions?
In cold weather, your fingers may be less dexterous, so allow extra time for line sorting. In wet conditions, a damp canopy is heavier during launch. Shake off excess water before attempting to get the wing airborne. Neither situation changes the fundamental rigging process.
What about beach etiquette when rigging?
Rig away from other riders and beachgoers. Your lines are invisible trip hazards. If you’re at a busy spot, choose a clear area upwind of the crowd. Don’t rig in the launch or landing zone of other wind sport users. When you’re done, pack down promptly and clear the area.
The Bottom Line
Rigging a parawing is one of the simplest setup processes in wind sports. No pump, no inflation, no walking out long lines. Unfold, sort, connect, launch. The key is taking the time to sort your lines cleanly and running through the pre-flight checklist before you pick up the bar. A clean setup leads to a clean session.
For help choosing a harness and setting up your harness line, read our harness and spreader bar guide. If you’re new to the sport, start with our complete guide to parawing foiling. For wing care after your session, see our care and maintenance guide.
Found this guide helpful?
Get new gear guides, honest reviews, and the best parawing deals straight to your inbox.